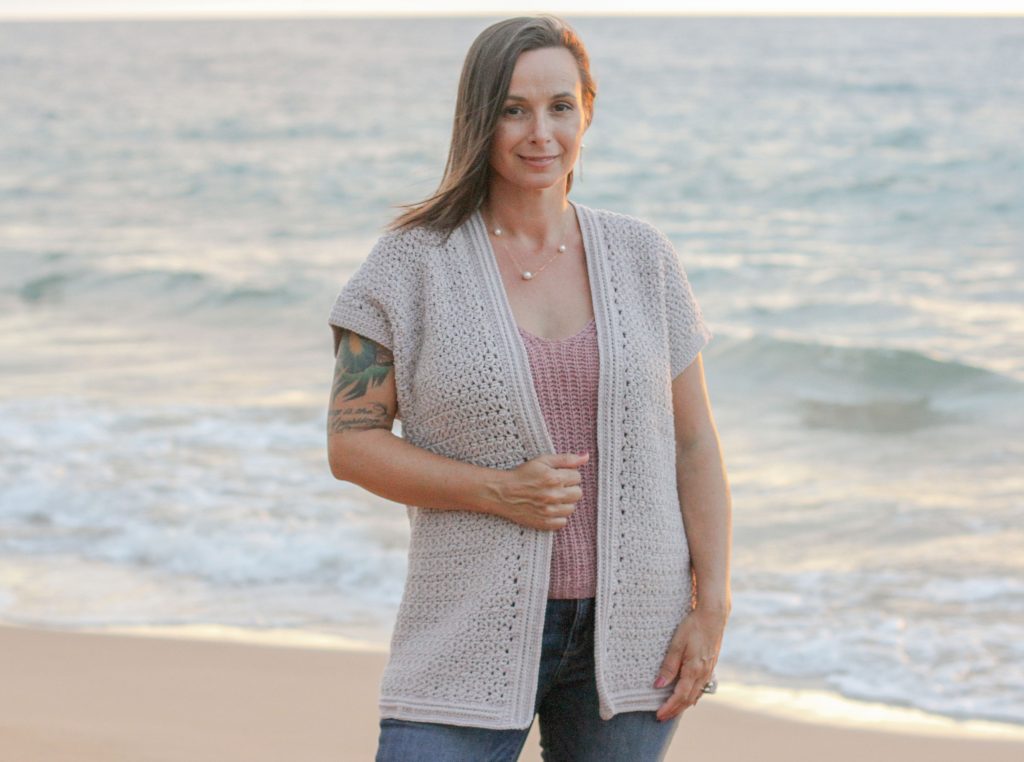
Welcome to the Hoku Summer Cardigan Crochet Pattern! You can find the kit available at Lion Brand Yarn. This is a free pattern and the low-cost PDF if available in my Shop, on Etsy and Ravelry. The PDF has a step by step photo tutorial of special stitches.
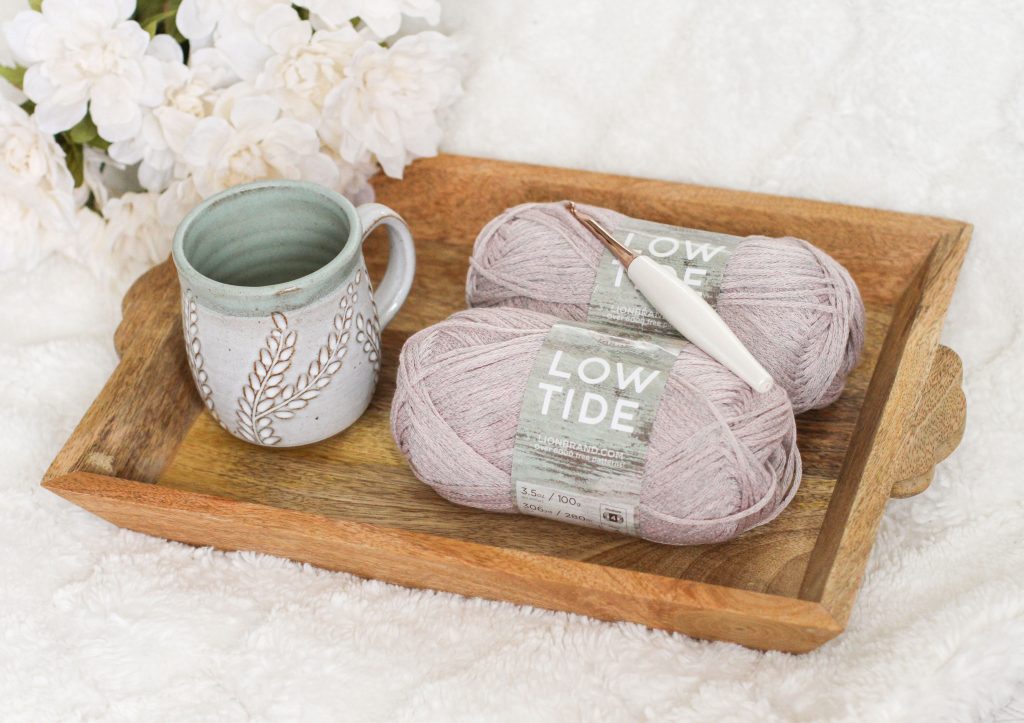
This pattern was inspired by my love for the ocean. I used Low Tide Yarn from Lion Brand in the color Shell and it was the perfect yarn to make a cardigan that can be work year-round. The drape is airy and the texture is beautiful. I will definitely be wearing this for sunsets all Summer as well as use it to layer in my wardrobe in the Fall. I also used my Furls Odyssey Hook for this project too! I look forward to seeing your Hoku Summer Cardigans.

I hope you love this fun and quick pattern! Please share with me on social media. You can follow me on Instagram HERE and on Facebook HERE! Tag me @pinkplumeriamaui and use #pinkplumeriamaui. If you like this project, you can check these other free patterns: Bursts of Aloha Beanie, Equinox Scarf & New Beginnings Cardigan.

Materials:
- K/6.5.0 mm Hook & H/5.0 mm Hook, I love my Furls Odyssey
- Worsted Weight, #4 yarn. I used 8 skeins of Lion Brand Low Tide Yarn, 81% acrylic/19% polyester, 3.5 oz/100 g
- Slip Markers
- Scissors, I love my Clover Patchwork
- Tapestry Needle, I love my Clover set
- Tape Measure
Yards/Ounces:
- XS, S, M: 28 oz/800 g or 2448 y/2240 y
- L: 31.5 oz/900 g or 2754 y/2520 m
- XL: 35 oz/1000 g or 3060 y 2800 m
- 2X, 3X, 4X: 42 oz/1200 g or 3672 y/3360 m
- 5X: 45.5 oz/1300 g or 3978 y/3640 m
Skill Level:
Easy
Size:
XS-5X
Gauge:
4″x4″= 7 hdc3tog x 7.5 rows (Using Rows 1-8 of pattern, with ch 23)
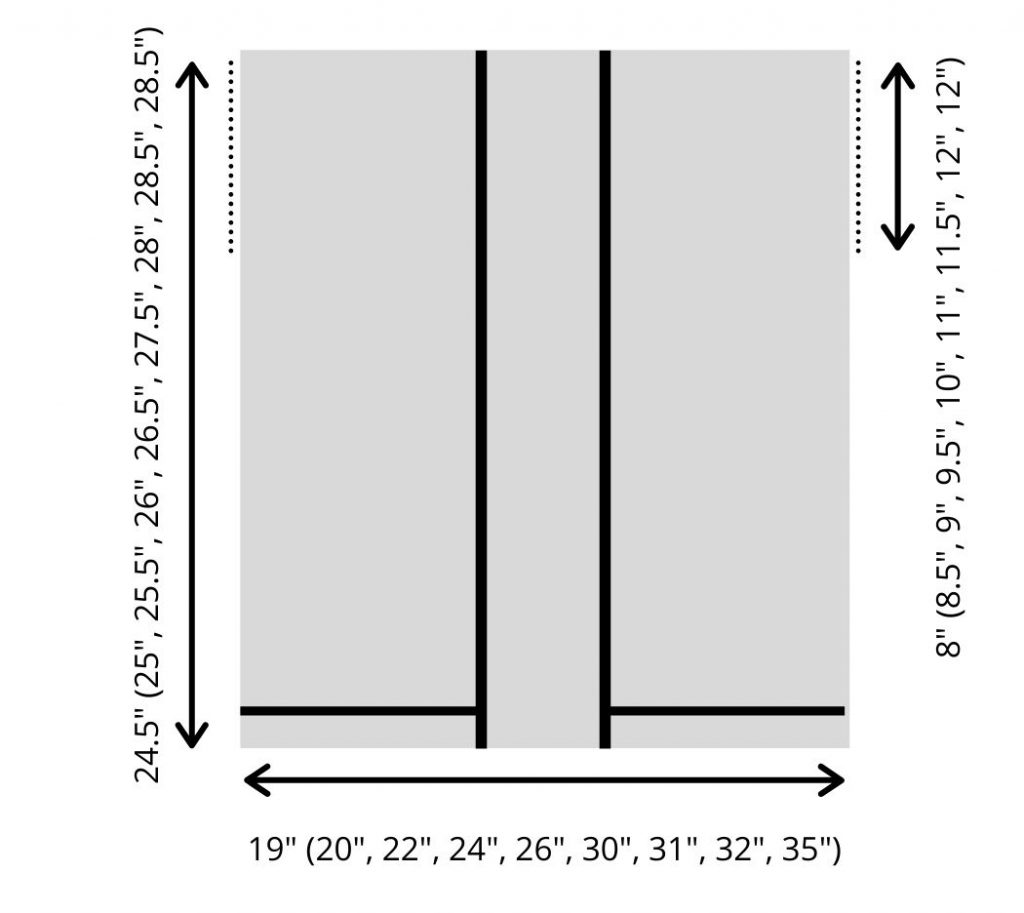
Dimensions:

Abbreviations:
ch = chain
FPsc = front post single crochet
JSS = half double crochet 3 together
hdc = half double crochet
RS – right side
sl st = slip stitch
sc = single crochet
sk = skip
sm = slip marker
st(s) = stich(es)
yo = yarn over
Special Stitches:
- Hdc with sc: This is like working a half double crochet with a single crochet on top of it. Yo, insert hook into st, yo, draw up a loop (you will have 3 loops on your hook), hold working yarn right behind stitch, yo and draw through all 3 loops on hook, insert hook into the loop formed by held yarn, yo, draw up a loop, now you can pull the held yarn snug (2 loops on hook), yo and draw through both loops completing sc.
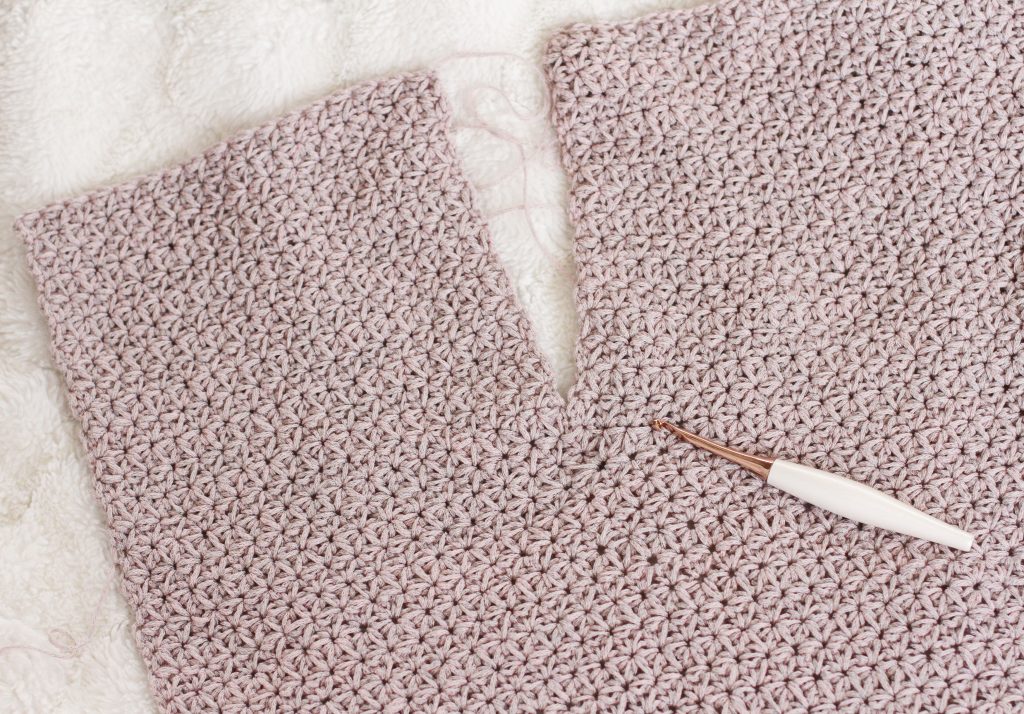
- Jasmine Star Stitch: (similar to hdc3tog with sc on top) Yo, insert hook into sc just made, yo, draw up a loop (3 loops on hook), yo, insert hook into base of previous hdc made, yo, draw up a loop (5 loops on hook), yo, sk 2 sts, insert hook into next st, yo, draw up a loop (7 loops on hook). While holding working yarn in base of last used stitch, yo, pinch yarn with yarn in handheld, draw through all 7 loops on the hook and immediately insert hook in the loop created by held yarn. yo and draw through held loop (2 loops on hook) pull yarn snug, yo and draw through both loops on hook, completing sc.
Notes:
-
- The fit of this cardigan has 2 to 3-inch positive ease.
- I suggest going through and reading the pattern and highlighting your size in each step of the pattern.
- Ch-1 does not count as a stitch.
- Panels are worked in turned rows.
- Using stitch markers for the beginning and end of rows helps keep track of stitches.
- The eye of the JSS is the center of 2 repeats of hdc3tog.
- Pattern sizes are written as XS (S, M, L, XL, 2X, 3X, 4X, 5X)
- Stitch count totals are represented in ( )
- If you need to adjust your gauge you can try G/4.5 mm & J/6.0 mm hooks.
- I recommend blocking the garment when done.
- Helpful photos are at the end of the pattern.

Pattern:
Front Panel:
With H/5.0 mm hook, ch 185 (197, 212, 230, 251, 284, 302, 314. 335)
Row 1: Starting with 2nd chain from hook, sc across. Turn work. (184, 196, 211, 229, 250, 283, 301, 313, 334 sc)
Row 2: With K/6.5 mm hook, ch 1, hdc with sc in 1st sc. Working into top of hdc, JSS by skiping 2 sc on previous row between 2nd & 3rd hdc. Turn work. (61, 65, 70, 76, 83, 94, 100, 104, 111 JSS)
Row 3-28: Ch 1, hdc with sc in sc below. JSS across working each st into (sc just made, base of hdc just made, eye of next JSS). Turn work. (61, 65, 70, 76, 83, 94, 100, 104, 111 JSS) *see tutorial pictures at end of pattern.
Splitting up Side Panels and Center Panels you will be counting JSS and placing SM in eye of JSS. The 1st eye of JSS in row does not count (this is the top of 1st hdc of row). Center panel will share an eye of JSS with both side panels.
Number of JSS in each panel:
XS (14, 33, 14), S (15, 35, 15), M (16, 38, 16), L (17, 42, 17), XL (19, 45, 19), 2X (21, 52, 21), 3X (23, 54, 23), 4X (24, 56, 24), 5X (25, 61, 25)

Side Panel:
Row 1-15 (16, 17, 18, 19, 21, 22, 23, 23): Repeat Row 3. (14, 15, 16, 17, 19, 21, 23, 24, 25 JSS)
All Sizes: Fasten off with a tail the length of 4 times the width of your panel.
With your work facing you and the 1st finished panel on your right side you will attach yarn in SM on left side to start the other panel. Ch 1 and repeat panel.
Center Panel:
Attach yarn into SM to the right.
Row 1-15 (16, 17, 18, 19, 21, 22, 23, 23): Repeat Row 3. (33, 35, 38, 42, 45, 52, 54, 56, 61 JSS) Fasten off.
Assembly:
RS of cardigan will be with 1st row of ch facing forward. To assemble the cardigan, turn RS of Side Panels and Center Panel together. Line up JSS evenly and seam top of shoulder with an invisible or ladder stitch. Turn RS out and start border.
Hem:
With H/5.0 mm hook.
With cardigan RS out and upside-down attach yarn in right corner or into 1st sc of Row 1.
Row 1: Ch 1, sc across the bottom. Turn work. (184, 196, 211, 229, 250, 283, 301, 313, 334 sc)
Row 2: Ch 1, FPsc across. Turn work. (184, 196, 211, 229, 250, 283, 301, 313, 334 sc)
Row 3-4: Repeat Row 1 and 2.
Row 5: repeat row 1.
Collar:
Turn work to front of cardigan.
Row 1: Ch 1, sc evenly across ends of sc rows, work 3 sc in eye of each JSS to opposite hem (up the side panel, across neck, and down opposide side panel), work sc evenly across ends of sc rows. Turn work.
Row 2-3: Ch 1, sc across and turn work.
Row 4: Ch 1, FPsc across and turn work.
Row 5-6: Repeat Row 3 and 4.
Row 7: Repeat row 3.
Turn work to bottom of cardigan, sc in same stitch just made, sc evenly on top of rows of sc, sc across, sc evenly on top of rows of sc. Work one more round of sc around entire border and collar working 2sc in corners at bottom of collar. Sl st to 1st sc of bottom row. Fasten off.
Arm Sleeves:
With H/5.0 mm hook and garment right side facing you, attach yarn in eye of JSS at the bottom of armpit. You will be working in the round.
Round 1: Ch 1, 2sc in same stitch, *2sc in eye of JSS*. Repeat from * to * until top seam. Sc in eye of JSS before and after seam. Repeat from * to * and slst to 1st sc.
Round 2-7: Ch 1. sc around and sl st to 1st sc.
Fasten off with a tail to sew in. Repeat on the other side. Sew in loose ends.

You can find a Low -cost PDF version HERE or on Etsy & Ravelry. You can find the kit available at Lion Brand Yarn.
Pin it for later HERE!

Please note, some of these links are affiliate links, which means that if you click on one of the product links, I’ll receive a small commission. This helps support the blog and allows me to continue to make free content. I only recommend products that I use and love. Thank you for your support. You can read my full disclosure.
**You can NOT copy pattern (or part of a pattern) and publish it on another website or other publication. Instead, you can publish a link to the pattern. You may sell products made from this pattern but not the pattern. I ask that you link back to my post. Please do not copy or reproduce pictures. When in doubt ask me, tonjapebenito@gmail.com.**


